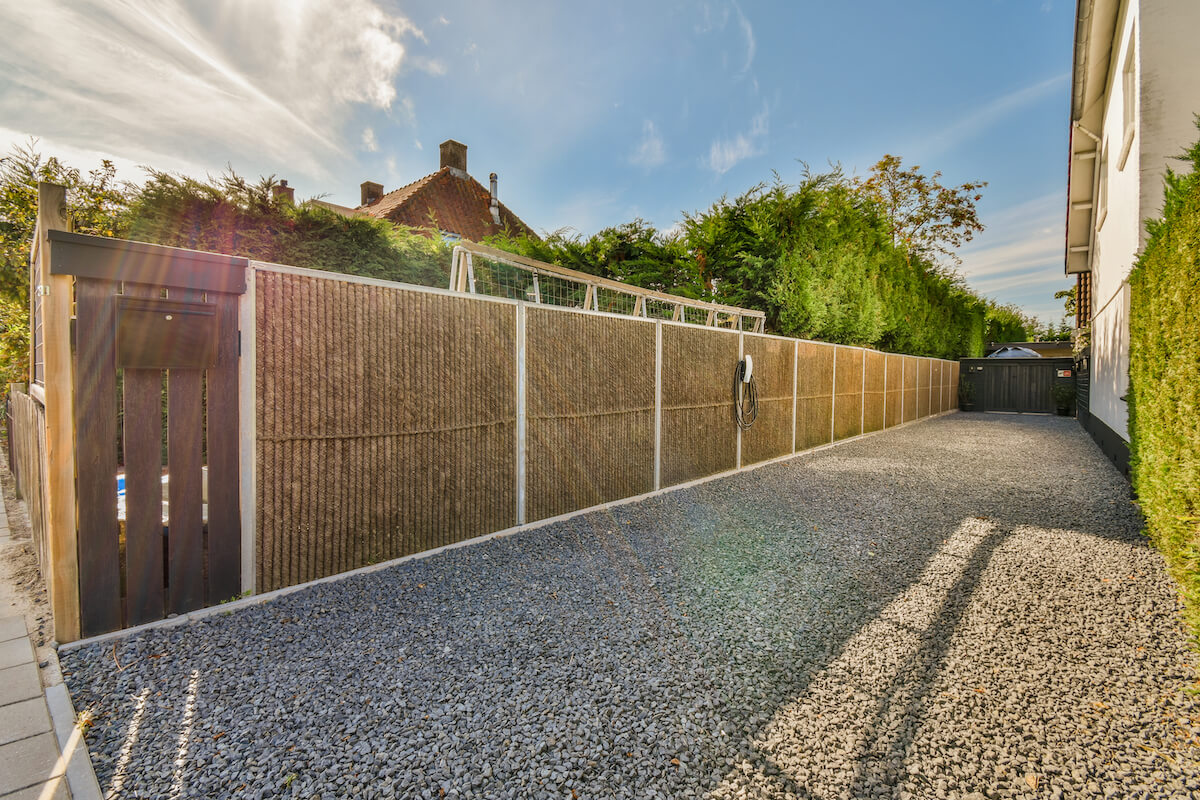
Affordable, Attractive, and Long-Lasting
Gravel driveways and pathways are cost-effective, easy to maintain, and offer a rustic charm that complements a wide range of landscapes. When installed correctly, gravel surfaces provide excellent drainage and can last for decades with minimal upkeep. This guide will walk you through every step to ensure a professional-quality installation.
1. Planning and Measuring Your Project
A successful gravel installation starts with precise planning.
- Determine Function: Will the gravel be for vehicle traffic, pedestrian use, or purely decorative purposes?
- Choose the Right Gravel:
- Driveways: ¾” crushed stone or Class 2 road base for stability.
- Paths: Pea gravel or decomposed granite for a smoother surface.
- Measure Area: Multiply the length by the width to get square footage, then multiply by desired depth (in feet) to calculate cubic feet. Divide by 27 for cubic yards.
2. Preparing the Ground
Proper site prep ensures longevity and prevents shifting.
- Mark Boundaries: Use stakes and string to outline the area.
- Clear the Site: Remove grass, weeds, and debris.
- Excavate: Dig down 4–8 inches depending on use (deeper for driveways).
- Grading: Create a slight slope for drainage away from buildings.
3. Installing a Solid Base Layer
Your base is the foundation for durability.
- Geotextile Fabric: Lay down landscaping fabric to prevent weed growth and keep gravel from mixing with soil.
- Base Material: Spread 3–4 inches of Class 2 road base or crushed rock.
- Compaction: Use a plate compactor to create a firm, level surface.
4. Adding the Gravel Layer
- Even Spread: Distribute gravel evenly across the base.
- Depth: 2–3 inches for pathways; 3–4 inches for driveways.
- Leveling: Rake for an even surface.
- Compaction: Compact lightly for stability but avoid crushing decorative gravel.
5. Edging for Clean Lines
Edging keeps gravel contained and prevents spreading.
- Options: Steel edging, concrete curbs, or treated wood.
- Benefits: Maintains shape and reduces maintenance over time.
6. Maintenance Tips
- Raking: Redistribute gravel every few months to maintain even coverage.
- Top-Up: Add fresh gravel as needed to replace material lost to settling.
- Weed Control: Spot-treat with weed killer or pull manually if needed.
Build It Right, Enjoy It for Years
Installing a gravel driveway or pathway is a rewarding DIY project that adds charm and practicality to your landscape. With the right preparation and materials, you can create a surface that’s attractive, functional, and long-lasting.
🚚 Get started with premium gravel from US Rock. Visit usrock.com to explore our wide selection.

